PageCarton makes it easy to create and publish posts such as blog articles, news updates, or announcements on your website. Follow the simple steps below to add a post successfully.
Step 1: Log in to Your PageCarton Admin
Open your website's admin panel and log in using your administrator details. Once logged in, you will see the PageCarton dashboard.
Step 2: Go to the Posts Section
From the dashboard menu:
-
Locate Posts
-
Click on it to view all existing posts.
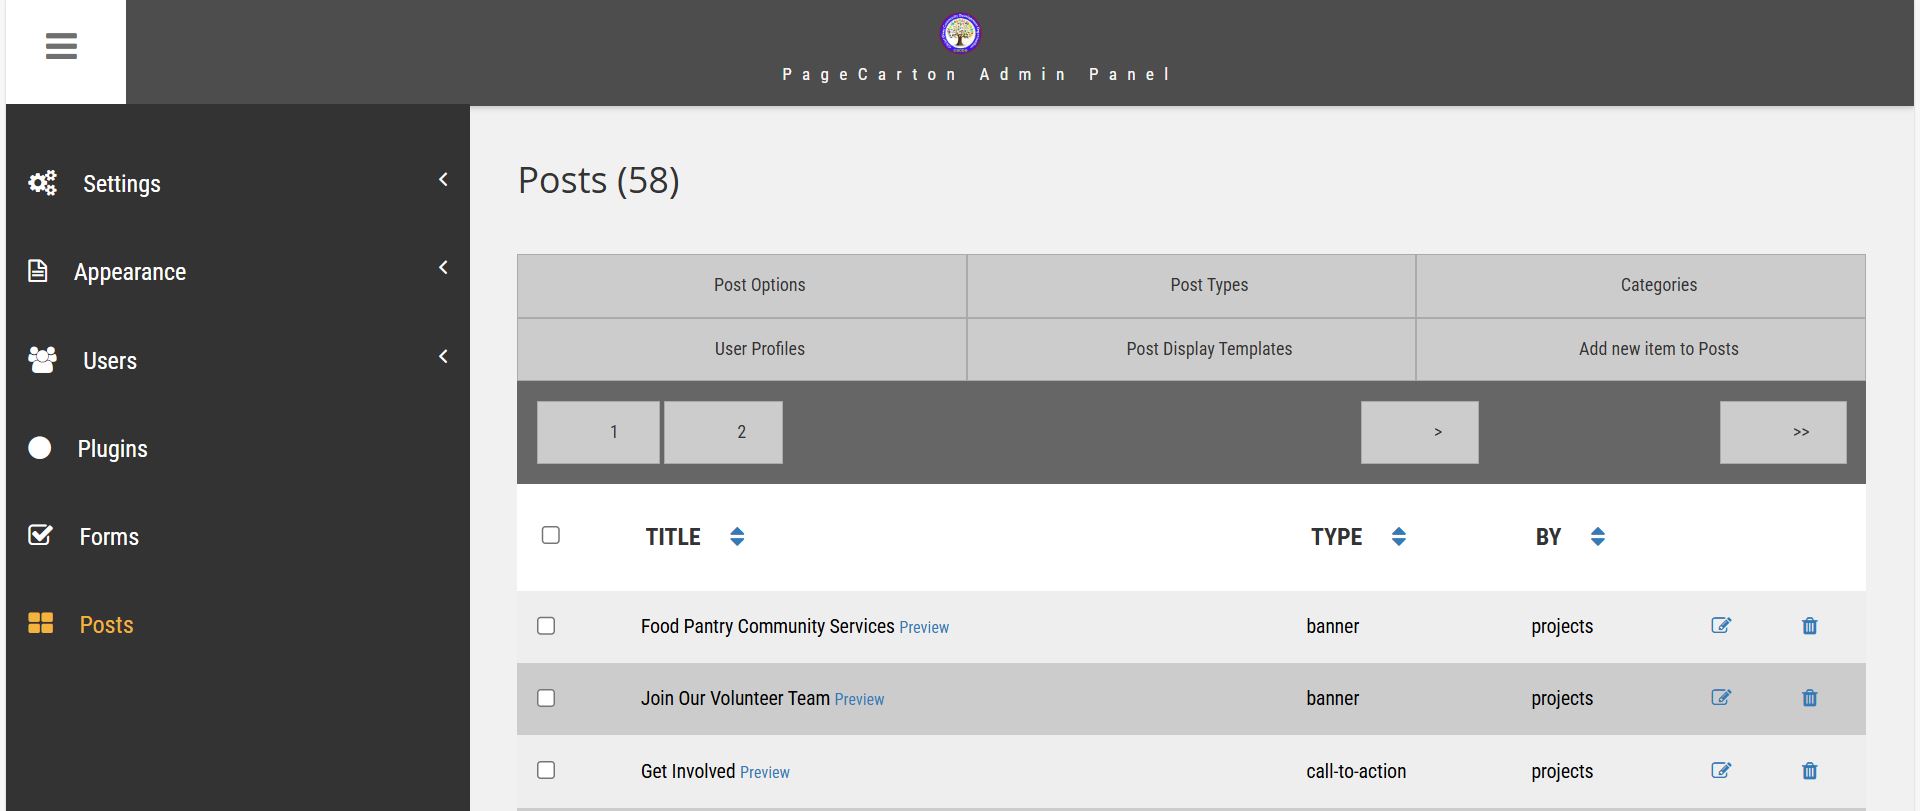
Step 3: Click on "Add New Item to Post"
Look for the Add New Items to Posts button and click it. This will open the post editor page.
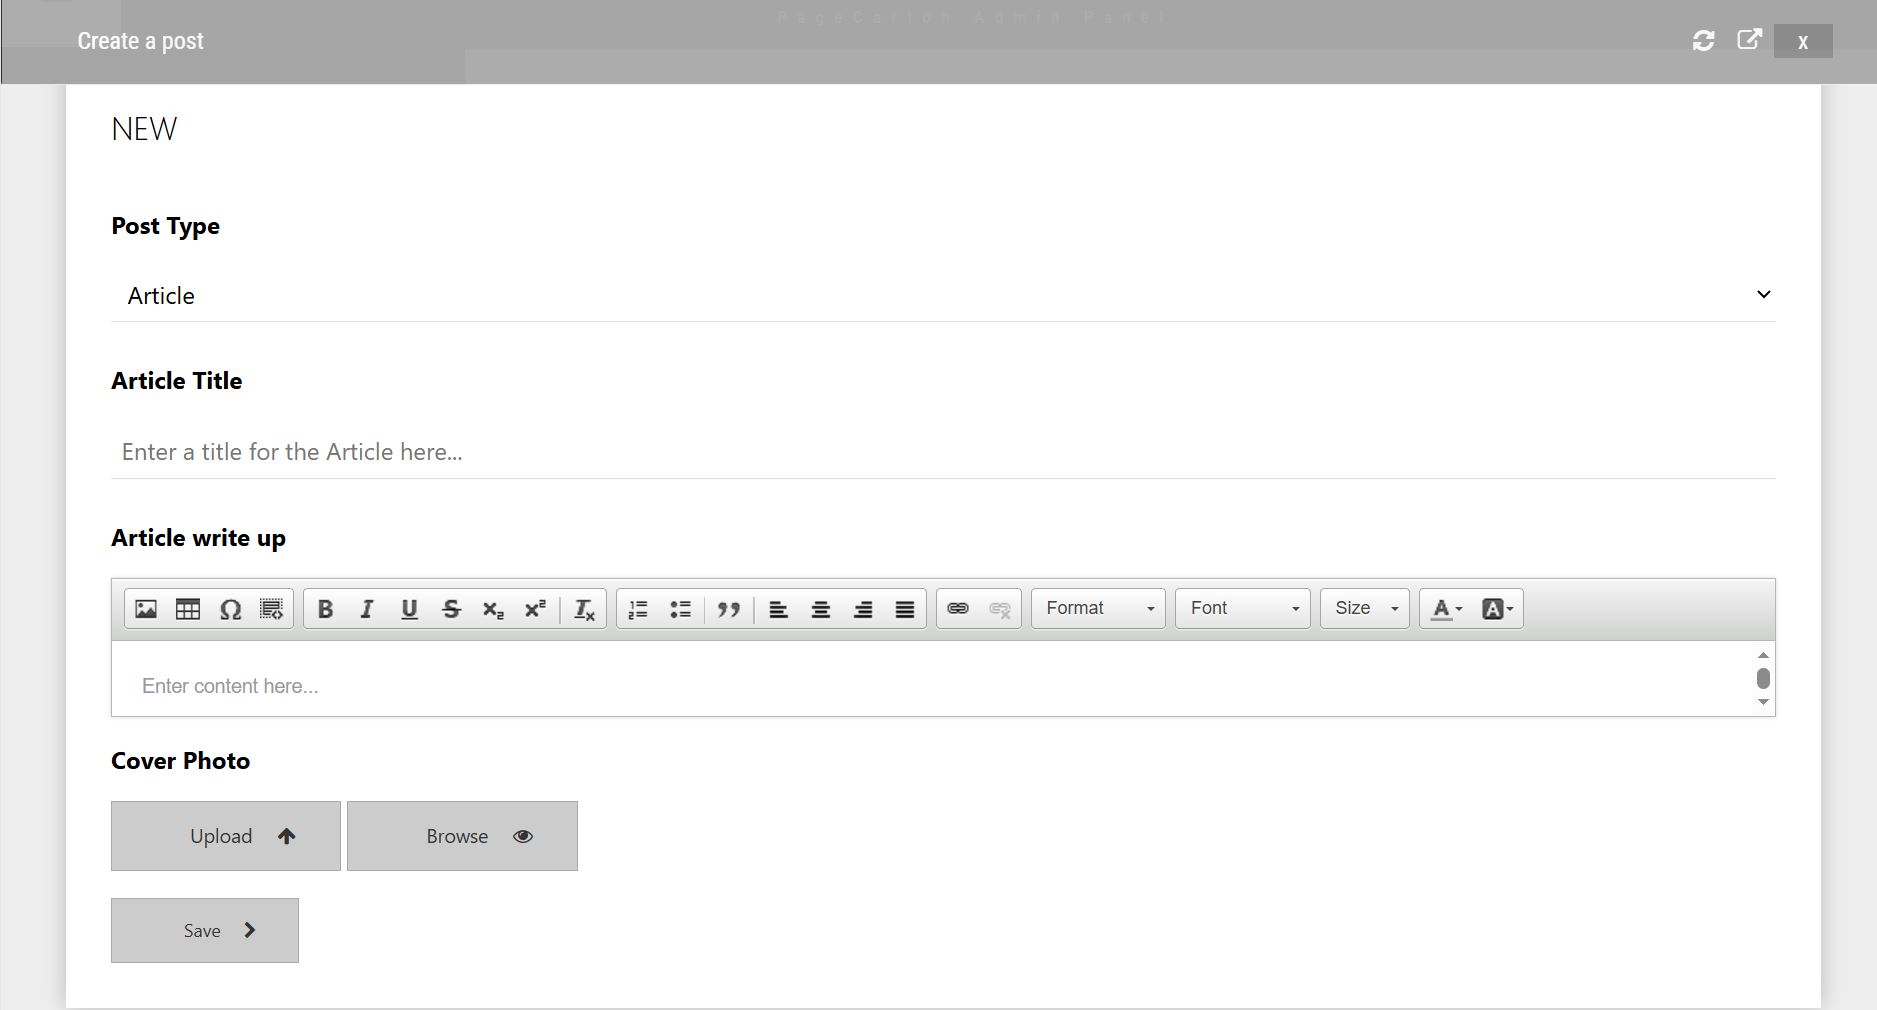
Step 4: Enter the Post Title
Type the title of your post in the title field. Make sure the title is clear, relevant, and easy to understand.
Step 5: Add Your Post Content
In the content editor:
-
Write or paste your post content.
-
Add cover image.
Step 6: Select Article Type
Choose a category for your post, such as Blog, Testimonial, Slideshow. This helps organize your content and makes it easier for visitors to find.
Step 7: Save the Post
Click the Save button. Once save, your post will appear on your website based on your theme layout.
Step 9: Review the Post on Your Website
Visit the front end of your website to confirm that the post is displaying correctly.